So, you’ve got holes in your walls, and you’re ready to tackle the repair like a seasoned DIYer. Whether it’s from moving furniture, an enthusiastic door swing, or an energetic toddler, filling those holes can make your walls look as good as new. Don’t worry; it’s an easy fix that doesn’t require a degree in construction! With a few simple tools and some readily available materials, you’ll be patching those holes in no time.
The first step is to assess the damage. Is it a small nail hole or a more significant dent? Knowing the size will help you choose the right approach. For tiny holes, a quick dab of spackling paste or drywall repair putty will do the trick. Simply apply a small amount with a putty knife, ensuring you fill the hole and create a smooth surface. Wait for it to dry, and you might be done already!
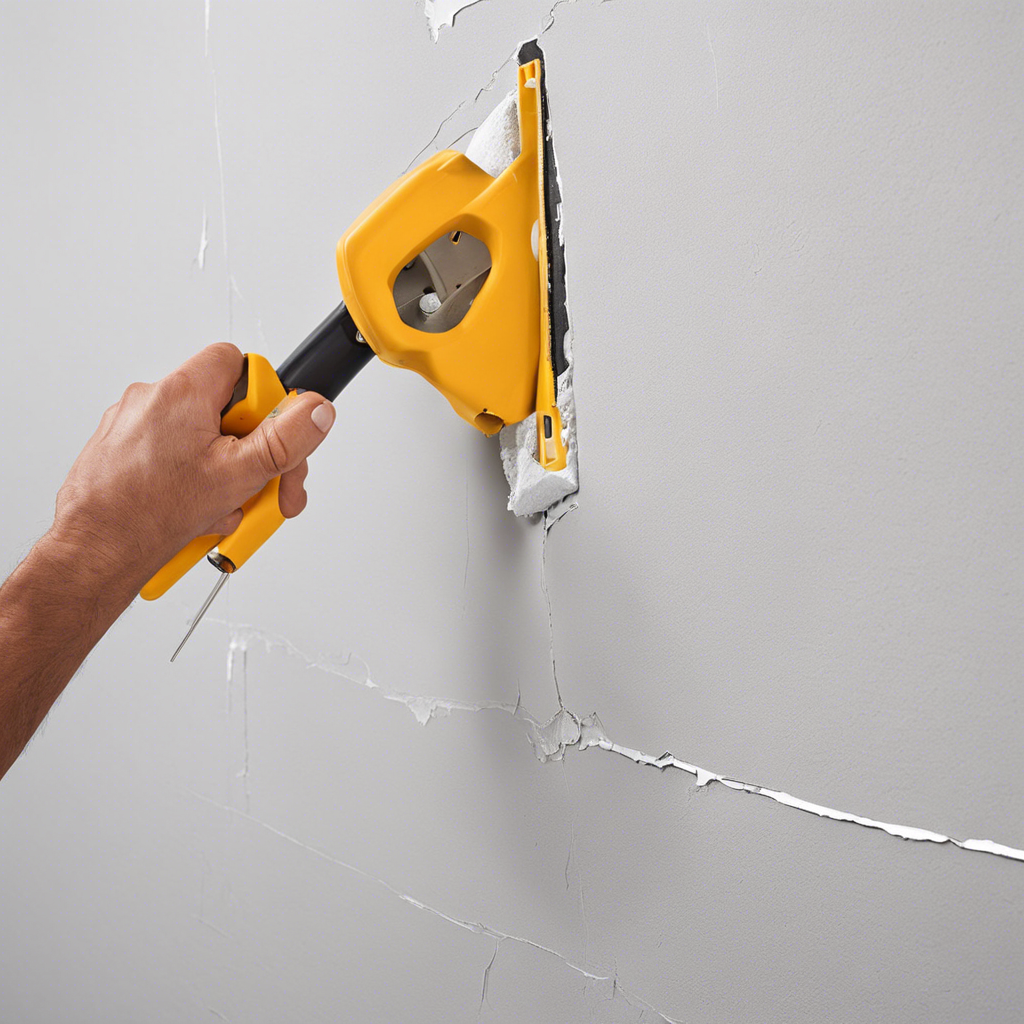
If the hole is larger, say from a doorknob impact, you’ll need a slightly more involved process. Start by cleaning the area to remove any debris. Then, apply a patch, which can be a self-adhesive mesh or a traditional drywall patch. For the latter, you’ll need to apply drywall compound (also known as joint compound or mud) over the patch, smoothing it out with a putty knife. Let it dry, and apply a second coat if needed for a seamless finish.
Once the patch is dry, lightly sand the area until it’s smooth. The goal is to create a flat surface that’s level with the rest of the wall. After sanding, you can prime and paint the patched area to match your wall color. With the right paint match, your repair will be virtually invisible!
Filling holes in walls is a straightforward process that can significantly improve the appearance of your home. By following these simple steps, you can achieve professional-looking results and feel a sense of accomplishment in your DIY endeavor.